Adapted from de-arrest tactics popularized by participants in protests against police, this guide outlines several strategies that community members can combine with rapid response networks, patrols, neighborhood hubs, and other yet-to-be-conceived models to protect our neighbors from abduction. Ideally, people who are working together to resist ICE should organize a one-hour community defense workshop to learn and practice these skills, using this material.
Under the second Trump administration, a combination of federal agencies has been carrying out federal immigration enforcement operations, including the Federal Bureau of Investigation (FBI), the Bureau of Alcohol, Tobacco, Firearms and Explosives (ATF), Immigration and Customs Enforcement (ICE), the Department of Homeland Security (DHS), and Customs and Border Protection (CBP). By late 2025, CBP had overtaken ICE as the lead agency, generalizing its cowboy tactics and supplanting the leadership of ICE; as a result, the distinction between ICE and CBP has functionally dissolved in street scenarios.
CBP and ICE agents, many of them recent recruits pursuing the $50k sign-on bonus, have very little training of any kind and almost no training in crowd control tactics. They are undisciplined, erratic, ideologically motivated, likely to break with standard procedure, and easily overwhelmed by crowds—especially if a crowd can create distance between them and their cars. This stands in stark contrast to local police, who are trained extensively in crowd control, familiar with procedure, ideologically heterogeneous, and largely risk-averse. Consequently, our strategies for dealing with these agencies must be different.
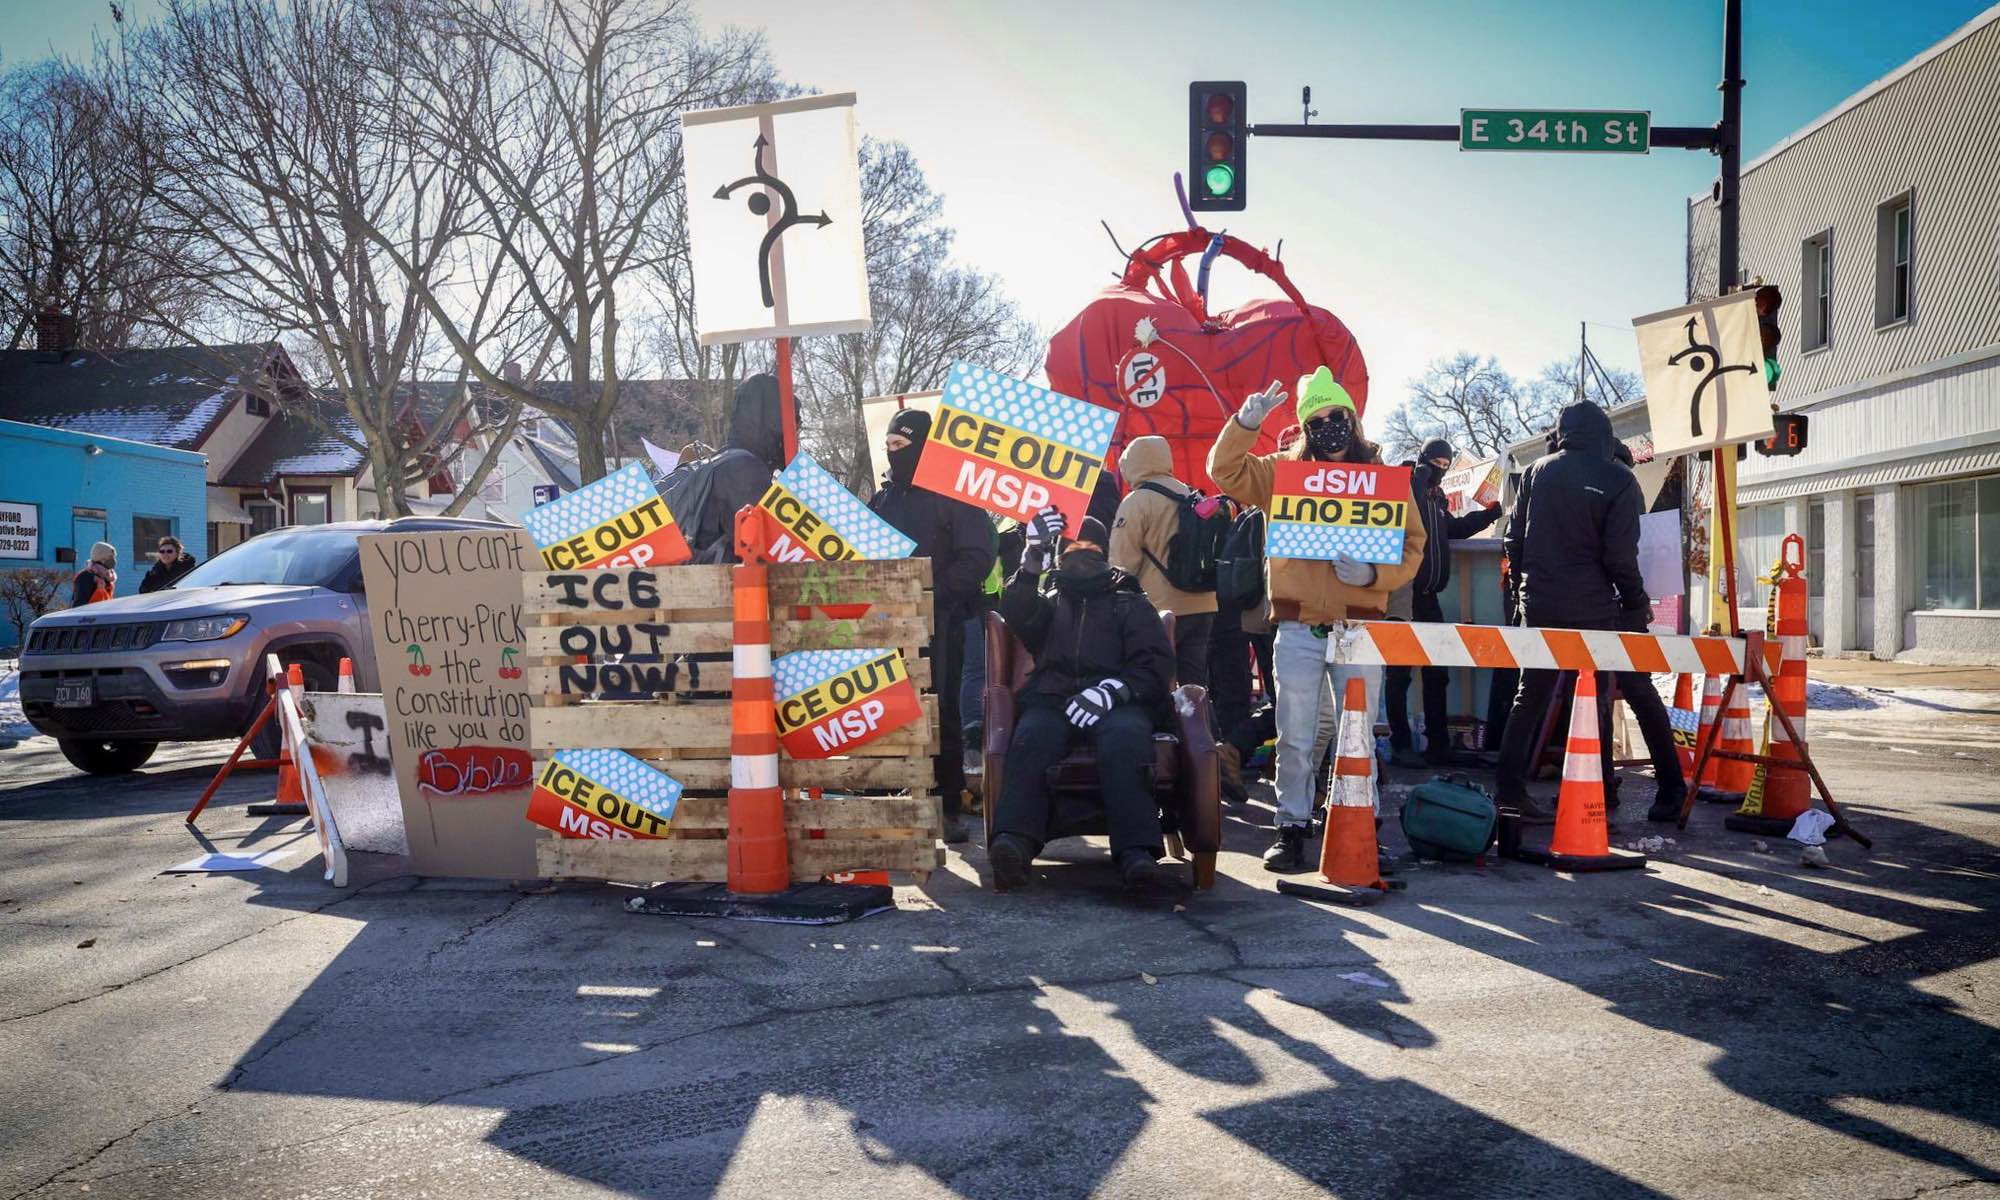
We often see immigration operations involving caravans of four to eight officers, with two in each vehicle. Their modus operandi is to get in and out quickly, visiting the homes and workplaces of immigrants or racially profiling people and snatching them off the street. They also tend to repeatedly target particular hotspots, such as Home Depot locations, big-box stores, and other day laborer hiring corners where they know they can reliably find people and abduct them in untargeted sweeps.
Participants in community defense projects can adapt their approaches to both the dangers that CBP pose and to CBP’s specific vulnerabilities, as explained here. With these skills, participants can practice tactical thinking, real-time risk assessment, and collaboration in teams using diverse tactics and techniques.
To practice these skills in a workshop, you will need:
- At least two facilitators to verbally share this information and physically demonstrate the maneuvers to the group before everyone else pairs off to practice. It can be helpful to have more than two facilitators on deck, so others can opt in to play agents or targets as necessary, in case other participants in the workshop don’t feel comfortable doing so.
- A whistle, megaphone, or other loud instrument
- A stopwatch
- A large object, a table, chairs, cones, other movable furniture, or painter’s tape
- Four reflective vests or hats of the same color
1. Swarm
The purpose of this practice is to demonstrate how disorienting it can be for an agent if people are surrounding them and shouting at them, even if the people never actually touch the agent or engage in more active de-arrest techniques. Facilitators should introduce swarm at the beginning of the training and emphasize it as the primary tactic that has proven effective. Do not skip practicing swarm in small groups! While the other de-arrest maneuvers are exciting to learn, swarm is the foundation of the other tactics.
Break into groups of four and distribute the following roles in each group:
- One agent
- One target
- Two community responders
As the agent approaches the target, the responders should try to get in the way without touching them by:
- Shouting at the agent
- Creating visual and auditory distractions
- Surrounding the agent from different angles, so that they cannot keep both responders and the target in their field of vision at the same time
Generally, the responders practice creating chaos and encroaching on the agent’s space without making physical contact. Even absent other techniques, swarming creates a chaotic and disorienting experience that makes it more likely for the agents to withdraw, and builds participants’ comfort in engaging in different types of intervention to try to stop a kidnapping, rather than simply remaining at a distance and documenting. For many, this could be the first time they’ve experienced shouting at another person or assertively taking up space. Facilitators should communicate that swarming in all forms is brave, useful, and necessary.

2. Gable Grip
The second fundamental technique to cover is the “Gable grip.” It can be an effective tool in situations where we might want to keep ourselves or our comrades out of law enforcement’s hands. In encounters like this, linking our own hands together often feels organic. However, the grip that comes naturally, interlacing our fingers together with our thumbs over one another, leaves us in a weak and vulnerable position: it’s easier to pull apart, and you may end up with broken fingers.
Instead, try this:
- Place your palms together. Do not interlace your fingers; keep your hands mirrored.
- Rotate both hands 45 degrees opposite each other. Glue your thumbs to your index fingers!
- Bring the fingers of each hand over and lock them onto the back of the other hand, forming the grip. One thumb should be under the other hand’s fingers, and the other thumb should be on the outside, facing towards your body.
This grip leverages the muscles in your arms as well as those in your hands and fingers, making it stronger and harder to break apart and reducing the risk of broken fingers. It’s also easy to teach and fundamental to many other techniques in community defense tactics.

3. Stance and Bracing
Your stance is the most fundamental technique; everything else depends on it. In daily life, most of us assume a neutral stance, keeping our legs straight and alternating between hyperextending and slightly bending our knees. In a society built around standing for prolonged periods, this saves us energy; however, it does not brace us, and leaves us very vulnerable to pushing or pulling. Because most people do not realize this, it helps to demonstrate this physically.

Instead of standing straight, try this:
- To enhance stability, place your legs shoulder-width apart to distribute your weight.
- Put one leg forward (whichever is opposite your dominant hand) and soften your knees.
- Drop your weight between your feet. Keep it on the balls of your feet!
- Rotate your back foot out approximately 30 degrees.
With a lower and more balanced center of gravity, this stance should increase your stability and put you in a state of active readiness, more mobile and ready to respond to sudden movements. A physical demonstration will help to show the advantages of this stance over a standard upright stance; it should be harder to push or pull the person in a proper stance.

In this stance, you can also brace or be braced by another person. Bracing is best practiced against light resistance. Have participants partner up into groups of three or four, assume a bracing stance, and practice applying pressure against one another. Aim to minimize the distance between the two partners who are braced; the person in the back should support the one in front. Have the person in the back put their arms under their partner’s arms, with their hands in front of their partner’s chest, and seal their hands in a gable grip.
Partners who are bracing should mirror their stances. The non-braced partners should pull on the first braced person’s arms, attempting to pull the braced partners apart. Start with unidirectional pressure and gradually move towards more erratic movement, moving back and forth, while remaining braced.

This is also the stance to use when bracing with shields, should that prove useful. However, in most street situations, fluidity is key, especially when dealing with erratic and inexperienced agents. In these situations, committing yourself to a defensive position should be a last-resort tactic. Start by creating commotion and staying mobile.
There are times when it may become unwise to remain braced. If you are bracing with a partner, make sure you are attentive to what the other person wants. If they want to get out, let them!
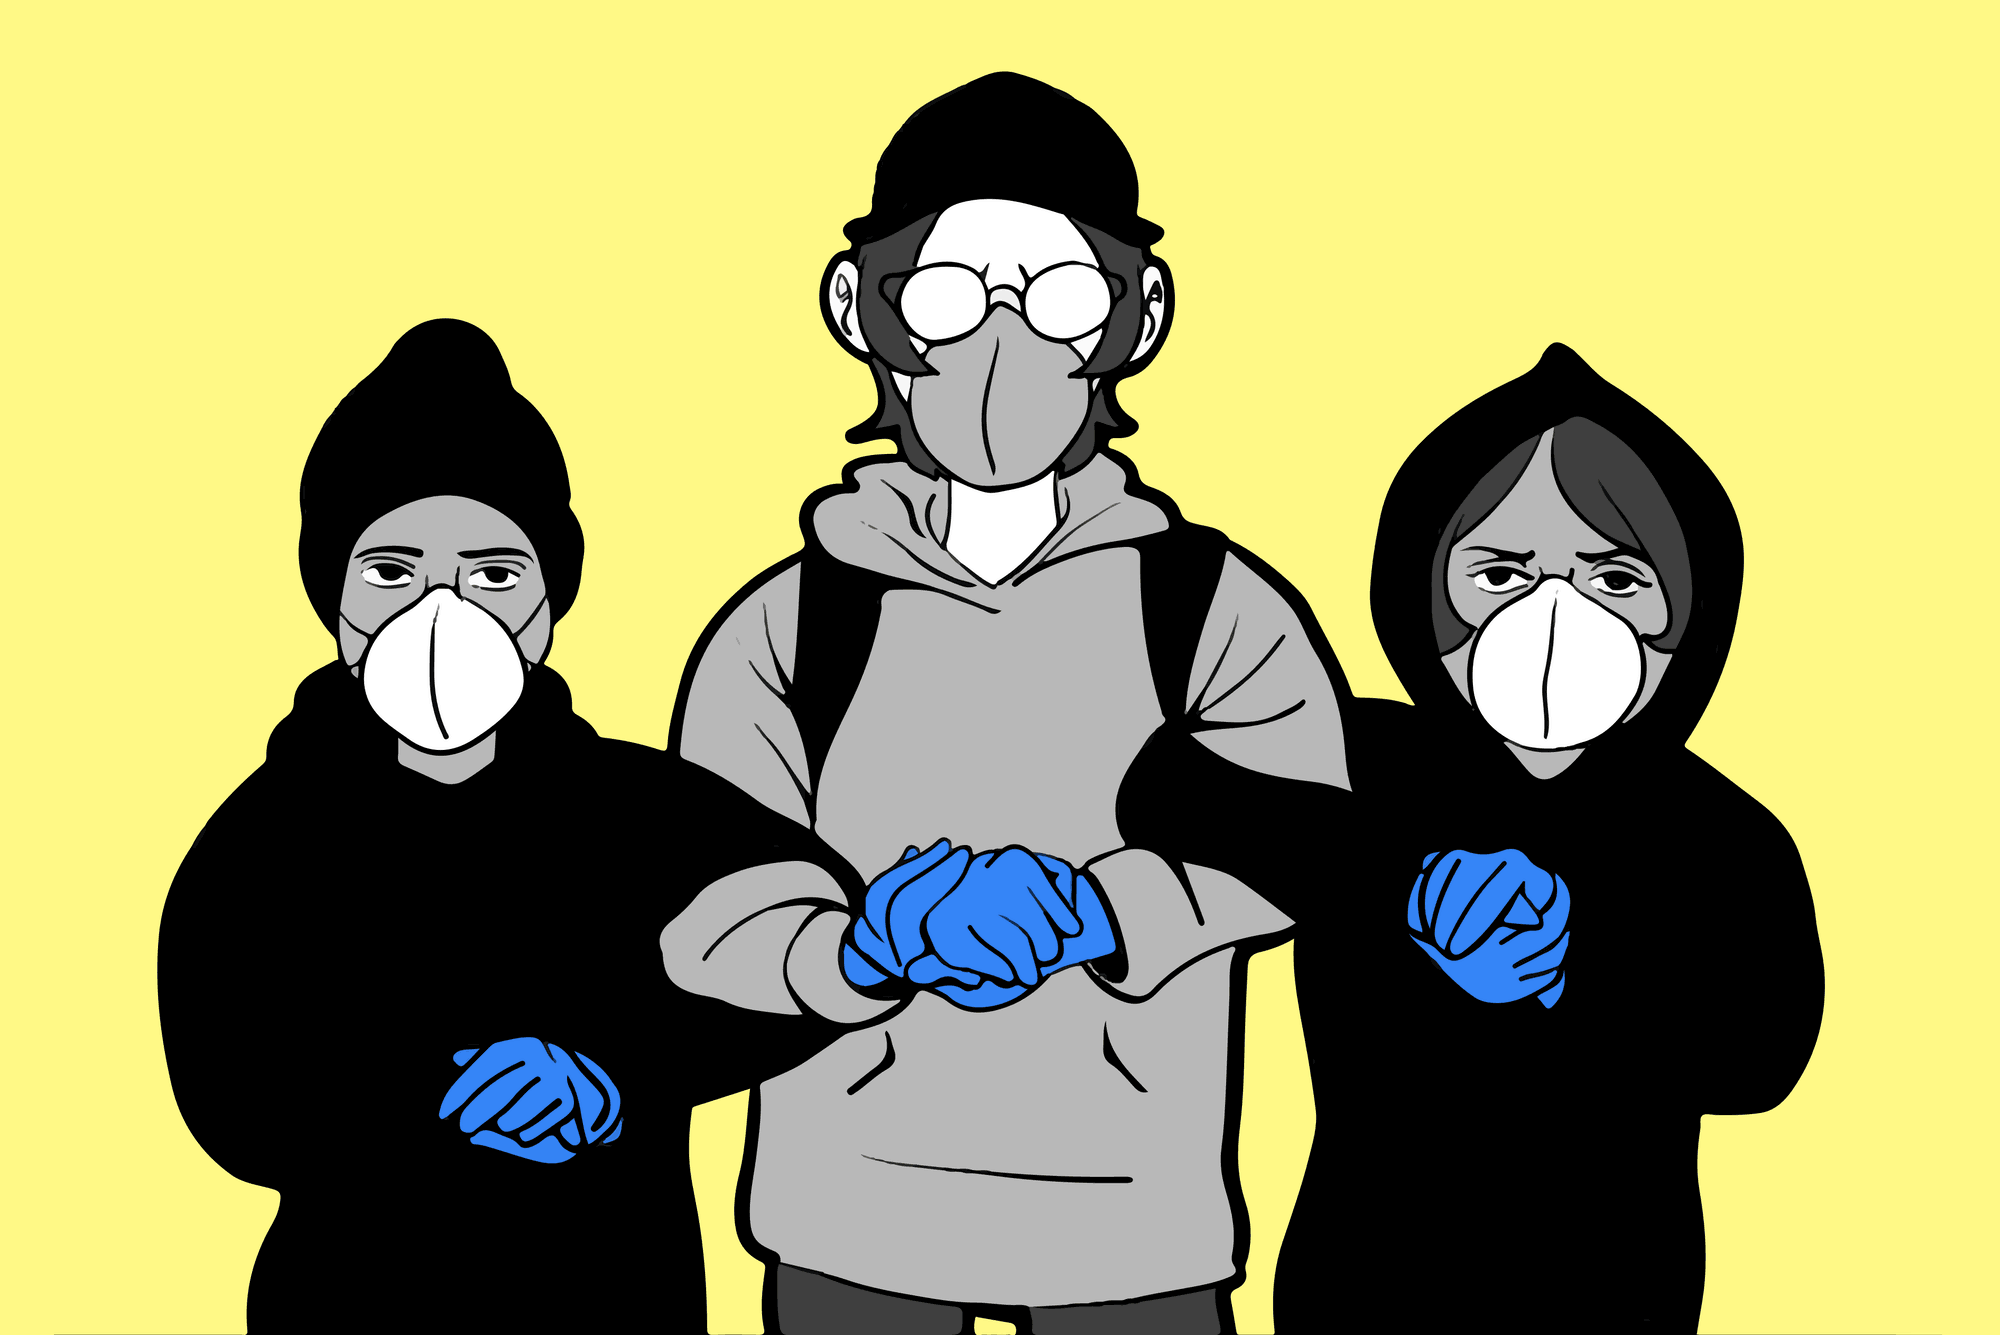
4. Human Chain
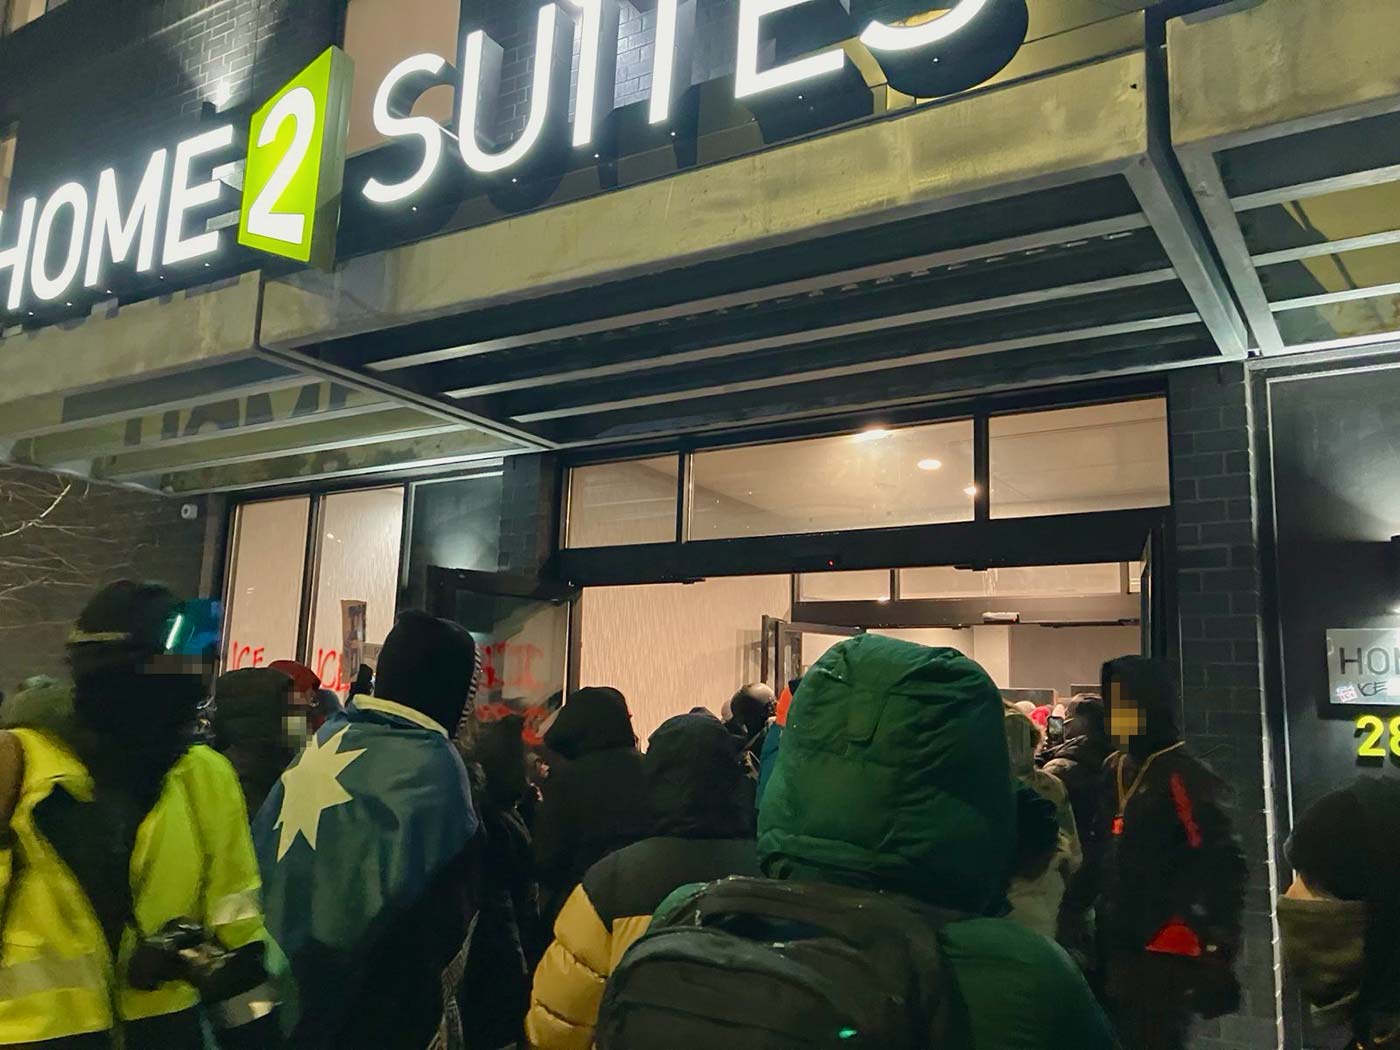
In some circumstances, it may be useful to form a human chain or blockade line to block law enforcement, whether to protect the entrances of a building that agents are trying to enter, to prevent agents from reaching a person they are pursuing, or to block a vehicle—although ICE and CBP are much more likely to keep driving and run people over than most cops. While a human chain with bracing offers some protection against being grabbed and can impede agents, it will not protect people from less lethal munitions or other weapons. In action settings, it could be combined with other defenses, such as shields or umbrellas to protect from munitions.
The human chain combines stance, grip, and bracing. Try it:
- Form two rows.
- The first row of people link arms at their elbows, gable gripping their own hands. Keep the stance discussed previously.
- The second row braces the first row of people. Match your legs to the person in front of you that you are bracing; minimize the distance between the two of you.

Trainers and other participants can pretend to be law enforcement and attempt to pull someone from the human chain or to push through it. Test out how much of a difference it makes to add an additional row of people bracing those in the front of the chain. Be aware that those on the edges of the human chain will be most vulnerable.
People sometimes default to forming a human chain when this does not make sense—for example, in situations in which the line actually blocks people, trapping them between the line of demonstrators and law enforcement, or preventing those who need to flank law enforcement from reaching them. Be clear on your goals in forming a blockade line; remain aware of where the line is positioned relative to other people and what role it is serving.
5. Practice Scenarios
In the following scenarios, people can practice the skills introduced here in concert with the usual rapid response protocols—filming, recording information for hotlines and rapid response networks, providing information about legal rights, writing down the target’s information to contact their loved ones, and the like.
Assign the following roles:
- One conductor: This person keeps time and determines when the scenario moves forward to the next phase. They should be equipped with a whistle or similar tool.
- Four agents: These people should be large and strong. Give them all matching vests or hats. Optionally, give them squirt guns or other toy weapons.
- One kidnapping target: This person will play the target of arrest.
- Two community responders: These people are the first on the scene; they must attempt to gather more people, provide support to the target, and assess ongoing risk.
- Everyone else: Responding community members, who will enter the scene gradually.
- For scenario 2: Bystanders on their phones. Assign one third of the community members the role of starting out on the sidelines, filming. The other responding community members must figure out how to convince these people to take additional action.
Scenario 1
Begin with all the agents, one target, and two responders. There should be something indicating the location of the agents’ vehicle(s). You may also indicate a business or home—get creative and adapt the scenario to your local context. All other responders line up and wait for the signal to join.
Each time the conductor signals, another responder joins the scene. With the first two people likely covering the tasks of getting the person’s information and filming, new people should take on other roles, like getting in the way, distracting the agent, getting between the agents and their car, shouting at the agent, or trying to draw others in. New strategies become possible as more people join.
The agents’ goal is to move the target(s) to the car. The scenario ends when the crowd de-arrests the person or the agents successfully get the target(s) into the car and depart.
Participants will likely be excited to practice their new moves. That’s great! However, facilitators should emphasize that in actual encounters, agents will likely be violent, less-restrained, use less-lethal munitions, and possibly brandish firearms. Participants should focus on practicing communication skills and ongoing risk assessment based on the crowd size and composition and the unfolding situation.
Facilitators may opt for a rule that responders cannot make physical contact with an agent until all participants are in play, which the conductor will signal.

Scenario 2
In a second scene, several people are assigned to play the role of responders who think they should only film. It is up to other participants to persuade them to intervene in a more active way. Each person in this role should choose a reason they will not intervene, and the other responding community members must convince them to put down their phones and start acting.
Debrief after each scenario, discussing how things went and why.
Takeaways
- It is much more difficult to stop a kidnapping once agents have gotten a person into their vehicle. Success is more likely when people cause chaos for the agents from the start. This also makes it more difficult for agents to target additional people.
- Agents tend to focus either on specific targets or on groups. Consequently, unlike police, they are not quick to shift focus to responders and often remain focused on their original target. This means responders need to work especially hard to disorient, tire, and demoralize them.
- Even small interventions substantially expand the possibilities of stopping a kidnapping. People take action to try to stop kidnappings all the time—but many rapid response trainings actively discourage people from trusting their natural responses. Get comfortable with putting away your phone and stepping in.
Abolish ICE!
Be Sand, Find a Gear!